Workbench Plans & Video Instructions plus much more...
- Sketch Up Model
- Magazine Style Process Document detailing each step
- Parts List
- Hand Tool School Community Access
- The Hand Tool School Tool Library & Sharpening Content
Build a Workbench to Get Started Hand Tool Woodworking Quickly and Easily
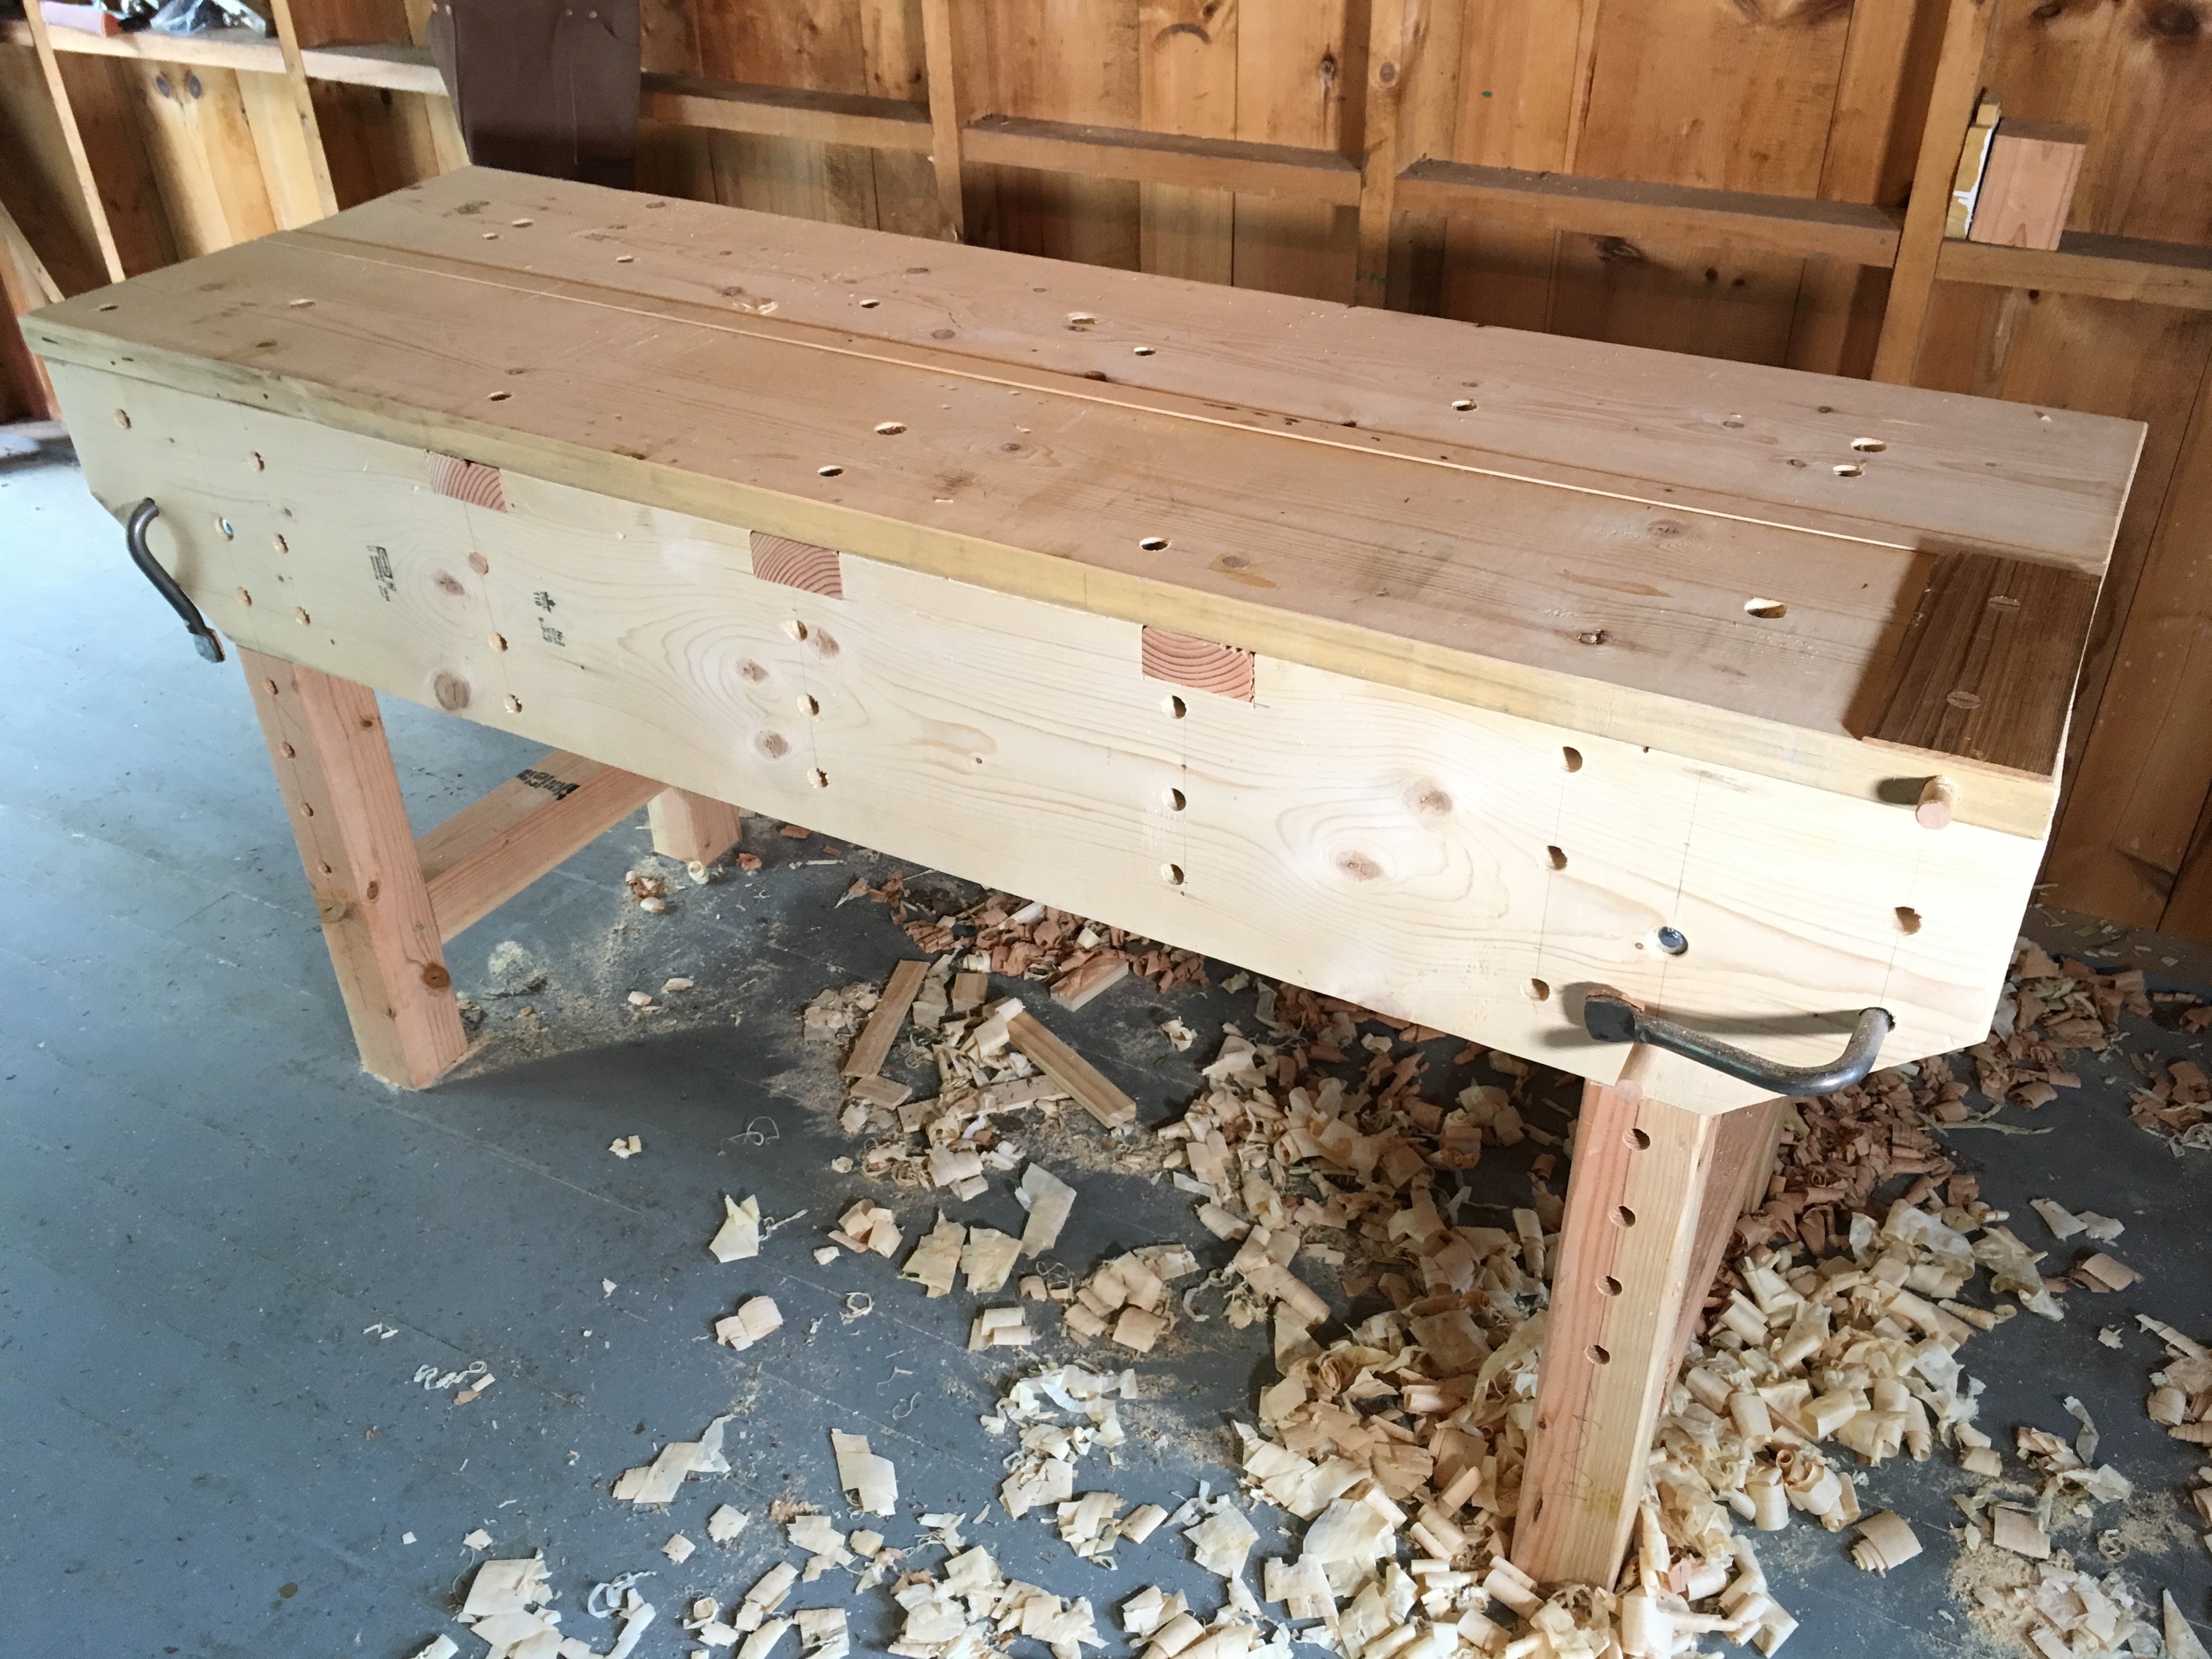
Not having a workbench shouldn't hold you back from getting started with hand tool woodworking. But having a nice and sturdy surface on which to work will definitely jump start you on your learning curve. This workbench design is based on the Nicholson style and is rock solid while using readily available boards from the home center. You can build a workbench using green or kiln dried wood as this design allows for plenty of expansion and contraction over the seasons. Certainly vises can be added later but all the work holding you will need is already built into this design. In face the less you clamp down a board while planing it flat, the more efficiently you will learn how to flatten your boards. The planing stop combined with the center planing beam make holding anything a snap. Add in a hold fast or two and you can work faces, ends, and edges of any board for any operation. Best of all this workbench can be easily customized to your own needs like workbench height or length with minimal changes to the workbench plans.
Check out this Overview Video of the Workbench

Part 1: The Design
I cover all the lumber and tools you will need to build a workbench and look closely at the workbench plans and 3D model to highlight the challenges and skills we will learn during the project.
Part 2: Legs & Stretchers
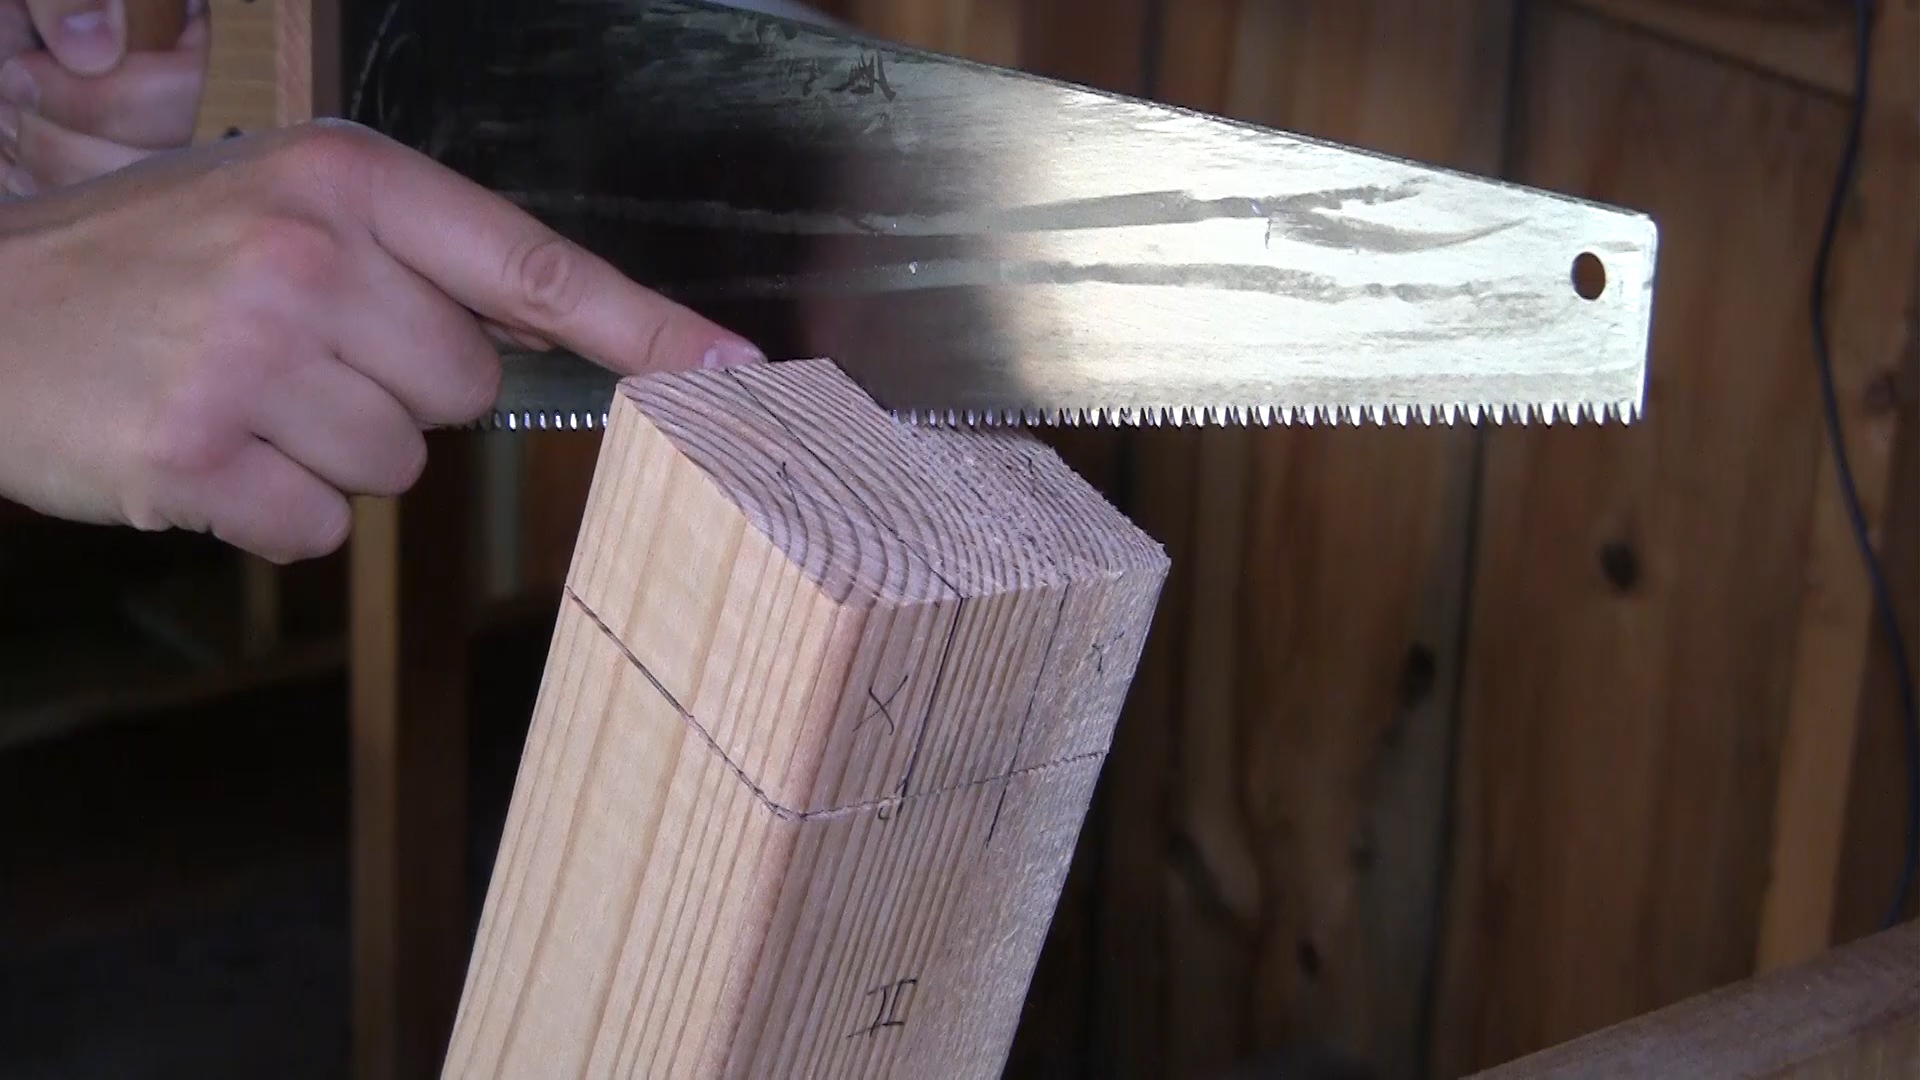
Here we decide on workbench height and then use a systematic layout and a few sawing tricks ensure a square base. Then we saw the tenons and chop the mortises...all without the aid of a workbench to build the workbench.
Part 3: Aprons & Braces
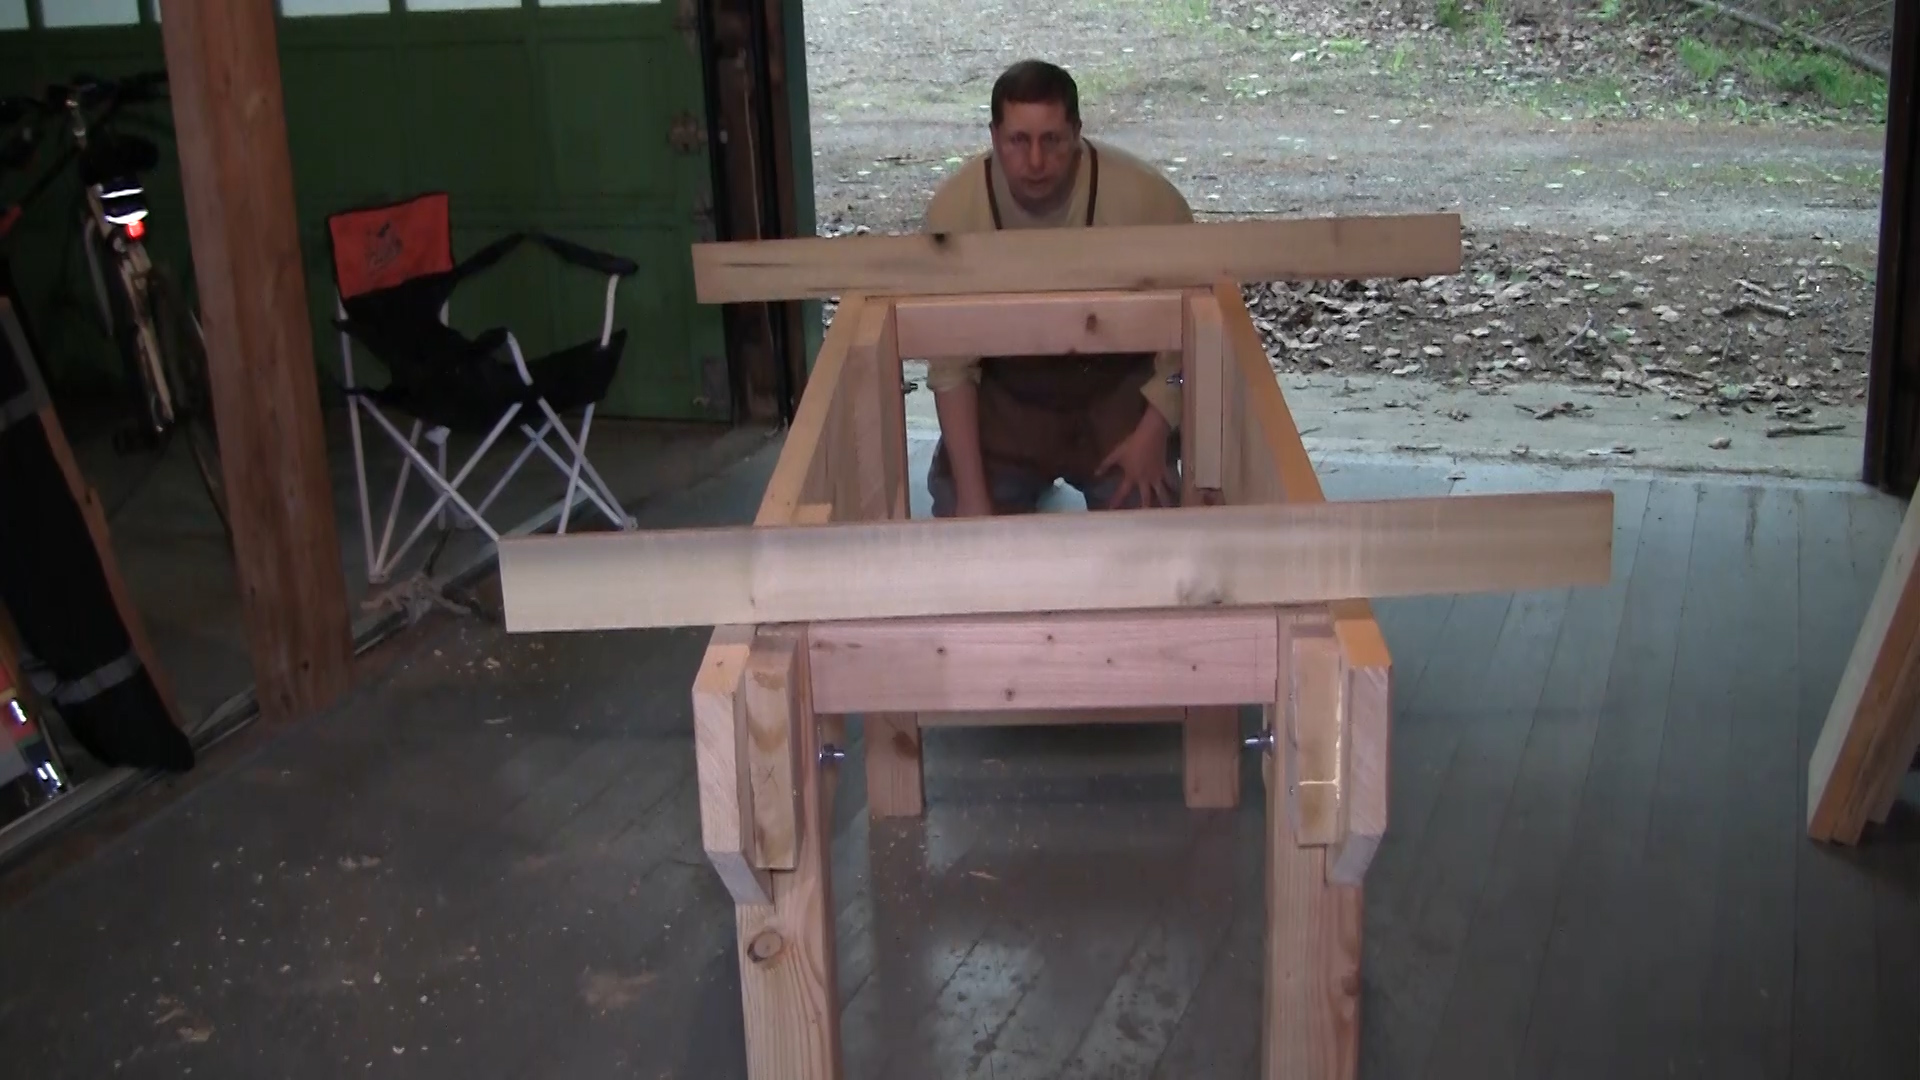
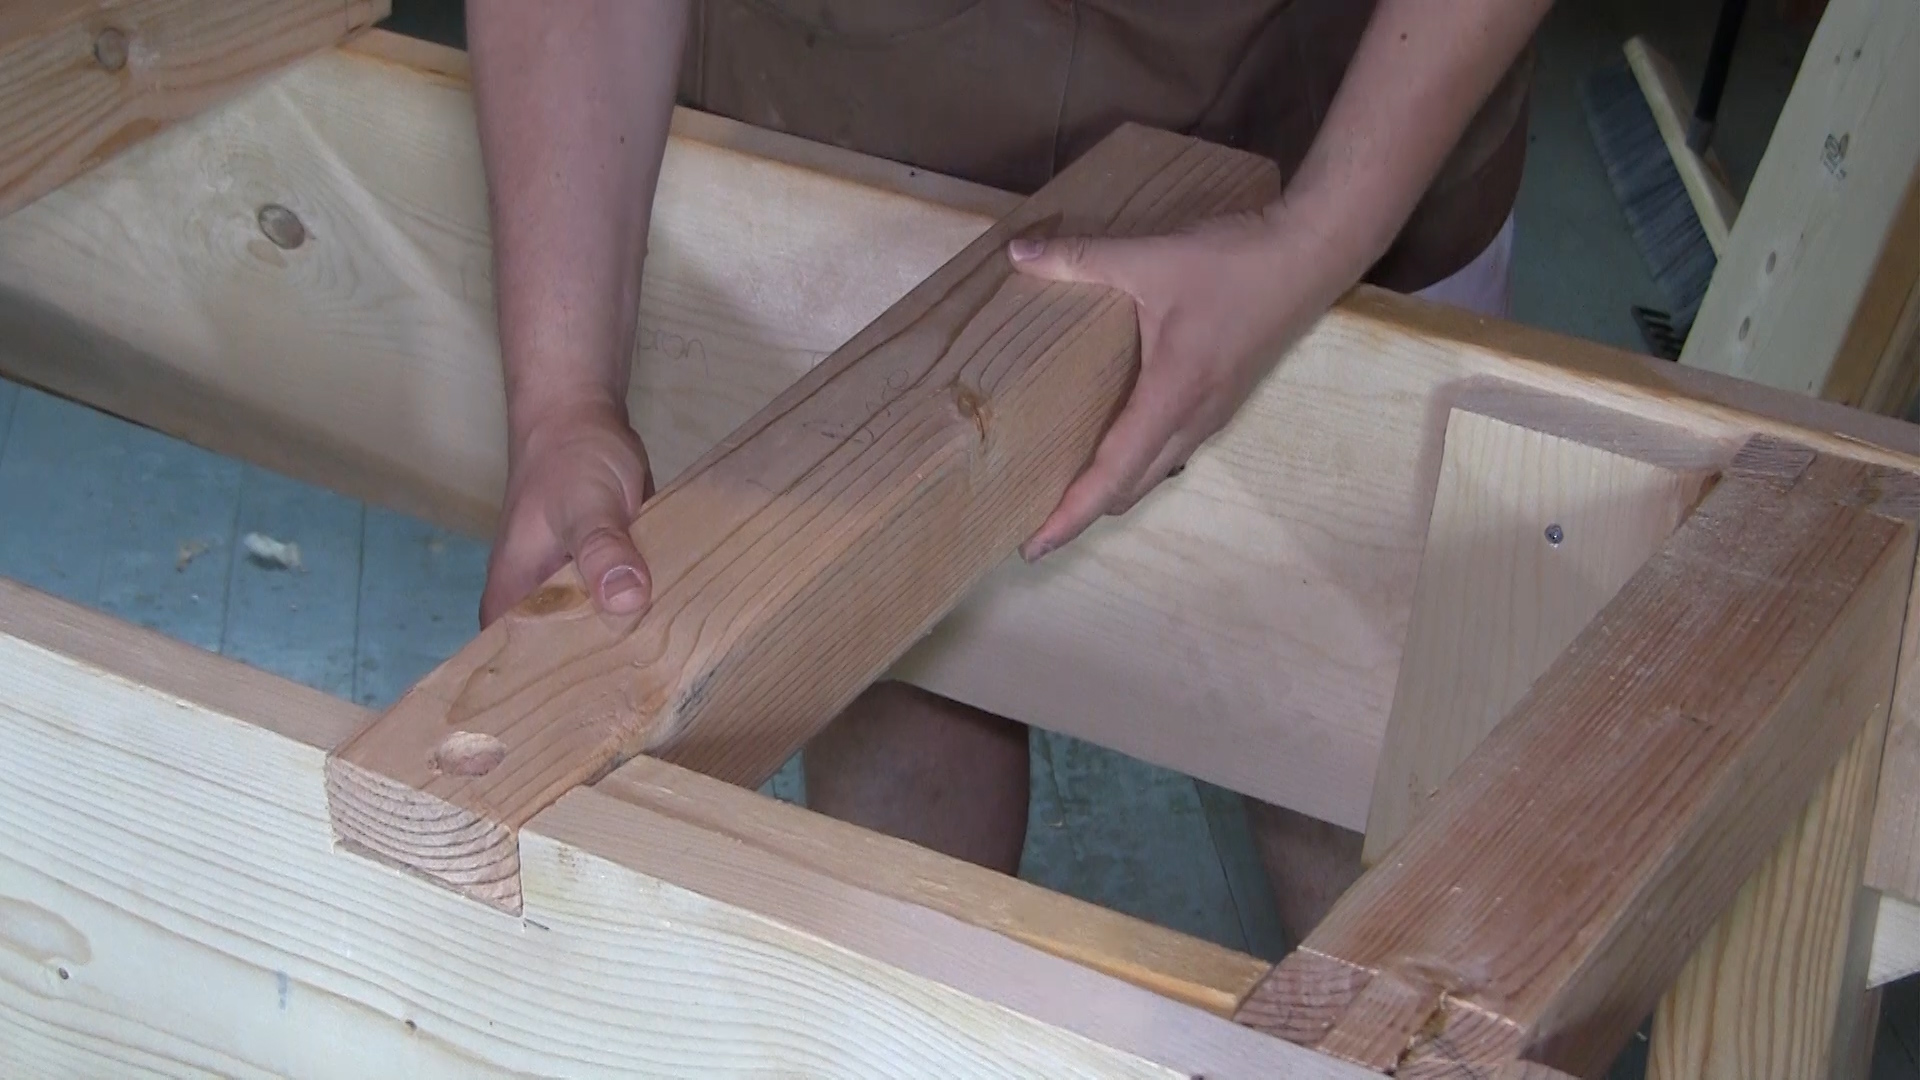
The wide aprons tie the legs together and set the overall length of the workbench. Braces firm up the structure and make it rock solid. Here we saw notches and half laps and the workbench takes shape.
Part 4: Top
The split top design is easy to execute and using nuts and bolts we quickly finish off the construction of the bench while still allowing it to knock down for movement in the future.
Part 5: Workholding
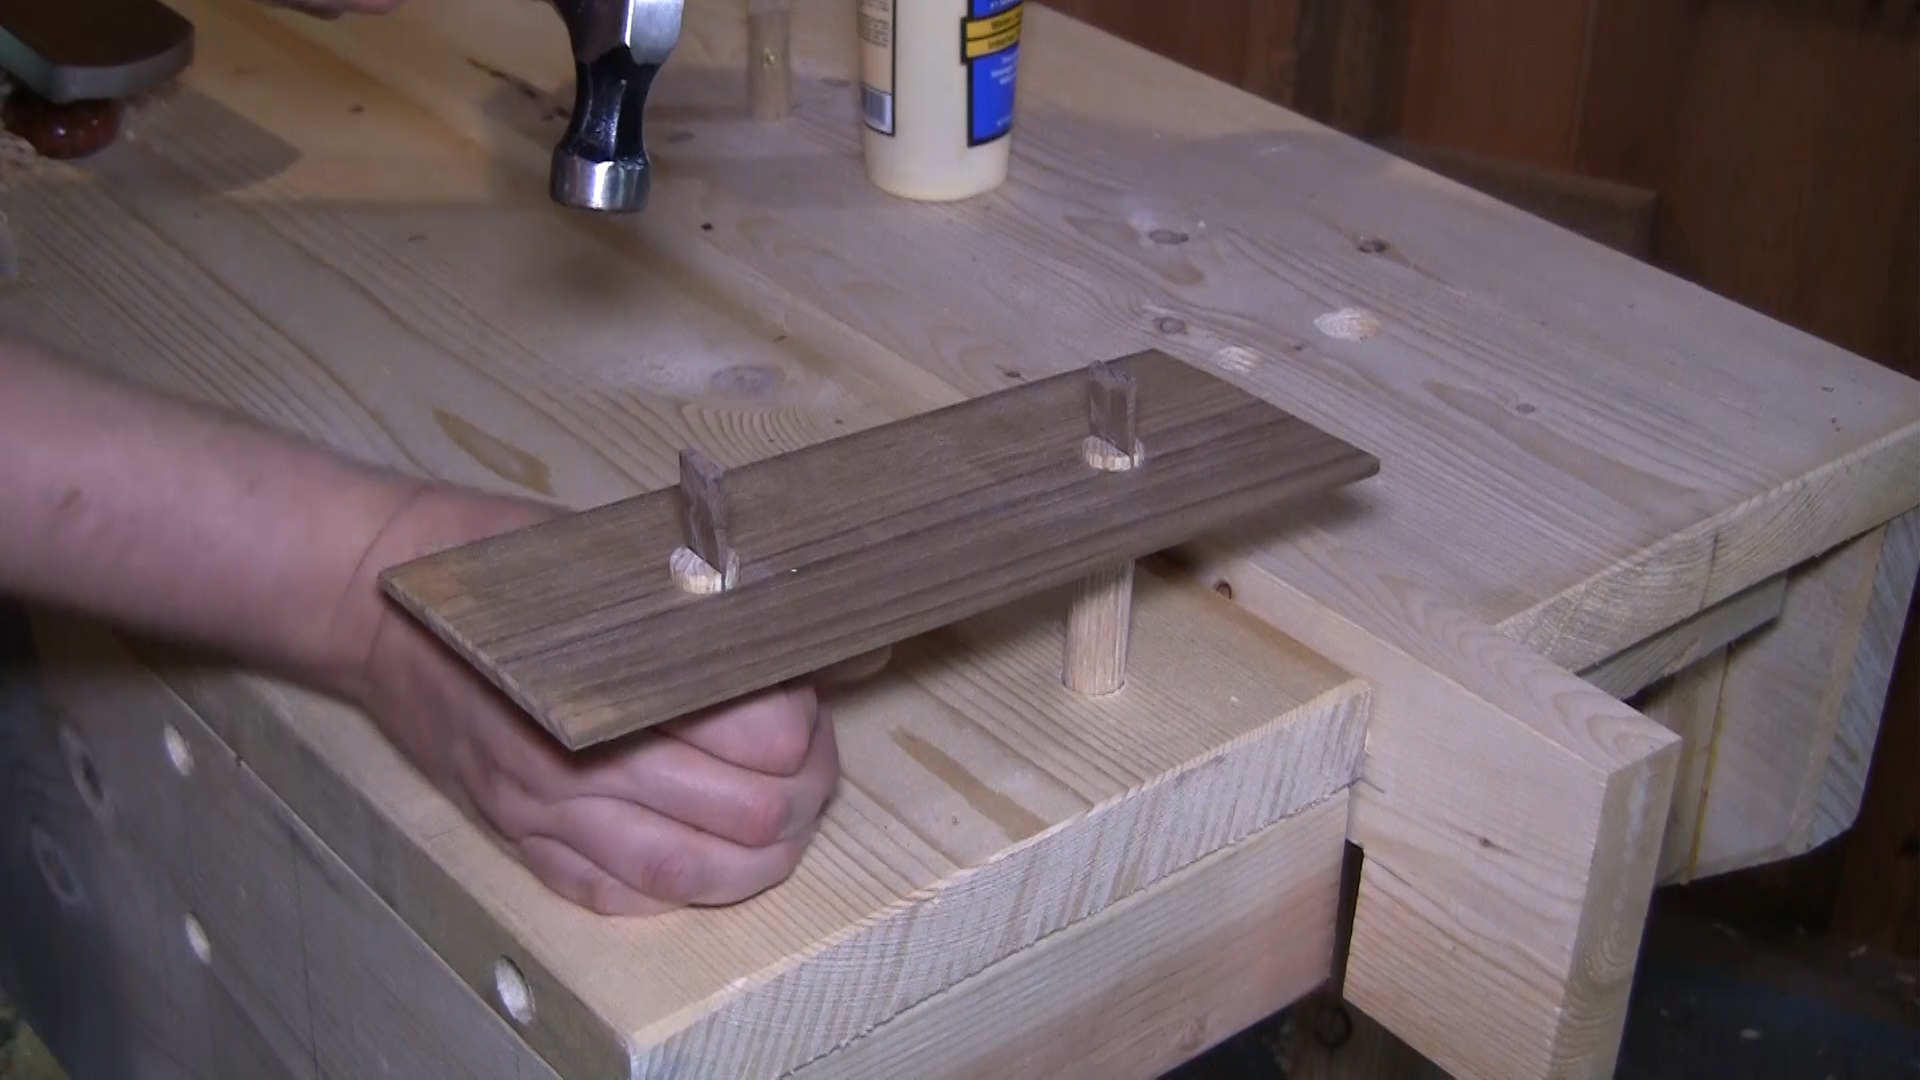
Now its time to build a planing beam and planing stop as well as make our own bench dogs and figure out where to bore holes for optimal work holding on our first projects.
As usual, we do it all by hand
No electrons were harmed during the building of this woodworker's workbench. All the details about the minimal tools needed and the lumber required are covered in the first chapter along with a very active community forum to guide you through the build along the way. All tools are easily obtained from a typical home center and I discuss options for upgrades in your tool set so you aren't buying the really important tools again in a year or so.
